Introduction
So far, on my journey to Homelab-as-Code, I’ve gotten my Kubernetes clusters installed and I’ve deployed Longhorn for persistent storage. But, I don’t have a good way of accessing any applications I deploy on these clusters.
In my last post, I used the kubectl port-forward command to access the longhorn UI. This is is a great utility to have in your pocket for testing and troubleshooting, but it doesn’t provide a long-term solution.
Using this utility requires access to the kubernetes cluster via kubectl and, obviously, I won’t be giving my family access to the Kubernetes cluster (or asking them to install kubectl) just to watch movies on Jellyfin. So, I need a better solution…
What I need is an ingress controller.
An ingress controller can make applications available outside your cluster. Some can also handle certificates for HTTPS. The Kubernetes project directly supports the AWS, GCE and nginx ingress controllers, but there are exists an overwhelming amount of other options.
Lucky for me, my favorite peer-to-peer mesh networking solution, Tailscale has both an ingress controller and a load balancer class for solving exactly this problem.
Assumptions
If you plan to follow along with your own setup, I’m assuming the following:
- You have some baseline familiarity with Kubernetes and
kubectl - You have a Tailscale account and are familiar with Tailscale’s service offerings
- You know how to edit/update your Tailscale ACL file
Steps
Before using Tailscale’s ingress controller or LoadBalancer class, we need to install the Tailscale Kubernetes operator. This is essentially a large set of Kubernetes Custom Resource Definitions (CRD) that can manage various things in both your Tailscale and Kubernetes environment on your behalf.
Create Tailscale Namespace with Privileged Labels
First, we’ll create a tailscale namespace and allow privilege escalation via a namespace label.
kubectl create namespace tailscale && kubectl label namespace tailscale pod-security.kub
ernetes.io/enforce=privileged
Create Required Tailscale Tags
Next, you’ll need to log in to your Tailscale admin console and add the following to your Tailscale ACL file:
"tagOwners": {
   "tag:k8s-operator": [],
   "tag:k8s": ["tag:k8s-operator"],
}
Create an Oauth Client
Now, we need to create an Oauth client with the appropriate scopes. Go to:
Settings –> Oauth clients –> Generate Oauth client…
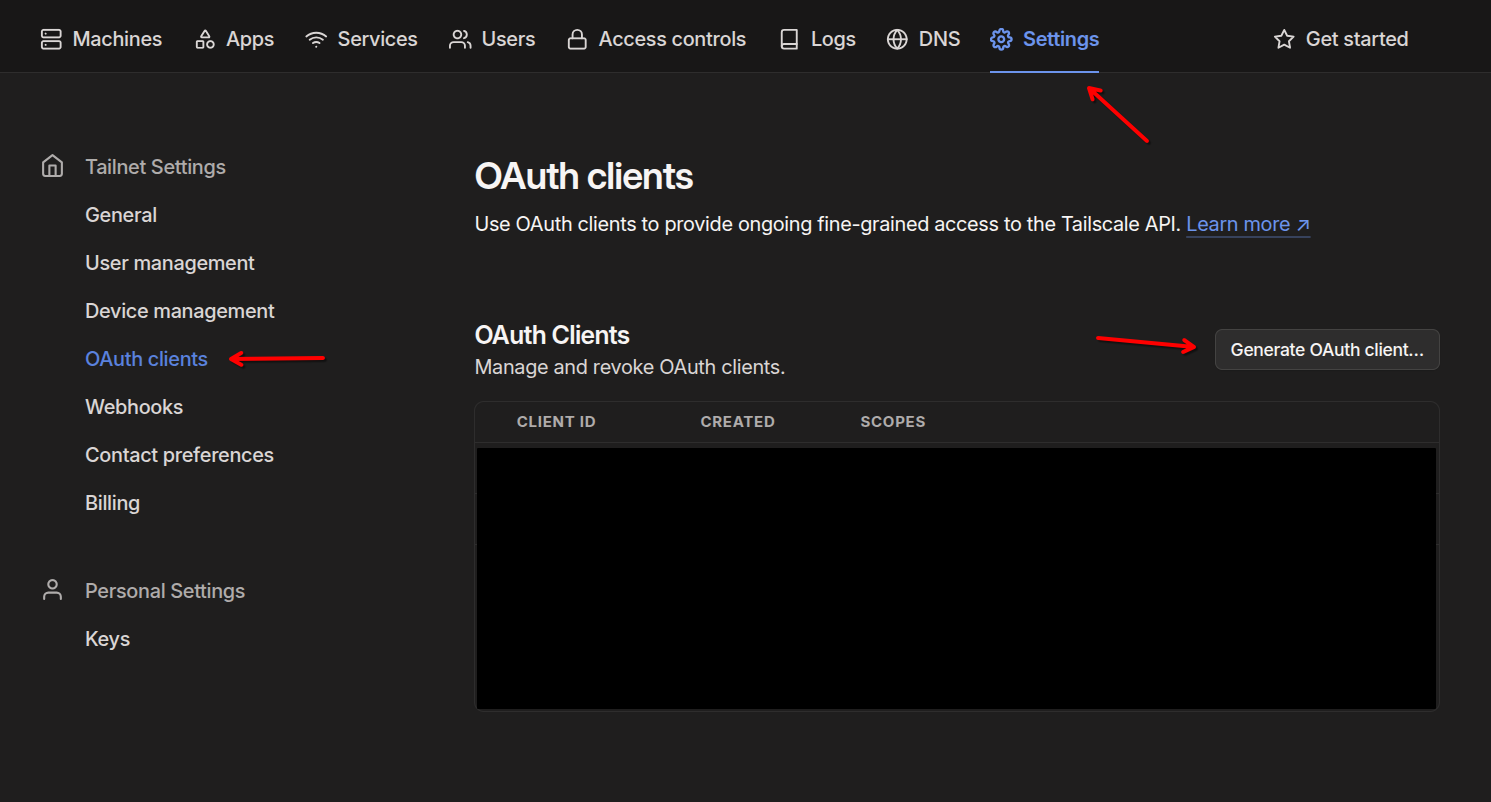
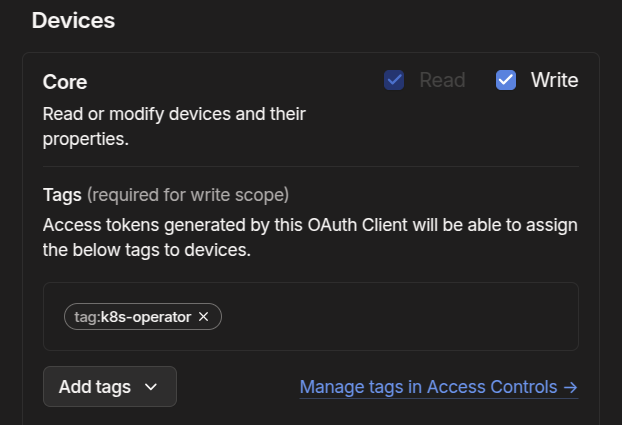
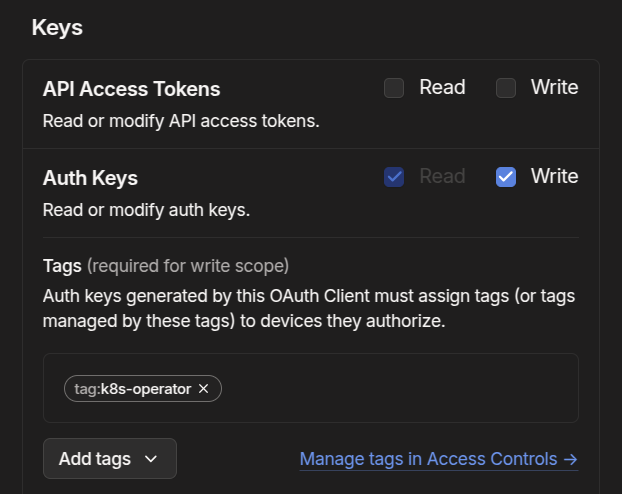
Ensure you give read/write access to devices/core and keys/authkeys. Add the k8s-operator tag to both. If there are no tag options, double check that you added the correct info to your Tailscale ACL file from the previous step.
Install the Tailscale Operator
helm repo add tailscale https://pkgs.tailscale.com/helmcharts && helm repo update
helm upgrade \
  --install \
  tailscale-operator \
  tailscale/tailscale-operator \
  --namespace=tailscale \
  --create-namespace \
  --set-string oauth.clientId="<OAauth client ID>" \
  --set-string oauth.clientSecret="<OAuth client secret>" \
  --wait
Using the Tailscale LoadBalancer Class
With the Tailscale operator installed, it’s time to try exposing something from the cluster to Tailscale! Let’s take my Uptime-Kuma deployment from my previous post to use as an example:
---
apiVersion: apps/v1
kind: Deployment
metadata:
  name: uptimekuma
  labels:
    app: uptimekuma
spec:
  replicas: 1
  selector:
    matchLabels:
      app: uptimekuma
  template:
    metadata:
      labels:
        app: uptimekuma
    spec:
      containers:
      - name: uptimekuma
        image: louislam/uptime-kuma
        ports:
        - containerPort: 3001
        volumeMounts: # Volume must be created along with volumeMount (see next below)
        - name: uptimekuma-data
          mountPath: /app/data # Path within the container, like the right side of a docker bind mount -- /tmp/data:/app/data
      volumes: # Defines a volume that uses an existing PVC (defined below)
      - name: uptimekuma-data
        persistentVolumeClaim:
          claimName: uptimekuma-pvc
---
apiVersion: v1
kind: PersistentVolumeClaim
metadata:
  name: uptimekuma-pvc
spec:
  accessModes:
    - ReadWriteOnce
  resources:
    requests:
      storage: 1Gi
  storageClassName: longhorn # https://kubernetes.io/docs/concepts/storage/storage-classes/#default-storageclass
If we saved the above YAML in a file called uptime-kuma.yaml, then apply the configuration with…
kubectl apply -f uptime-kuma.yaml
…we wouldn’t have any way of accessing it because it doesn’t have a service object associated with it. So, let’s fix that by adding the following to the end of the file:
---
apiVersion: v1
kind: Service
metadata:
  name: uptimekuma-service
spec:
  selector:
    app: uptimekuma
  type: ClusterIP
  ports:
    - protocol: TCP
      port: 3001
      targetPort: 3001
Note: the
---in a YAML file signifies a file within a file. In Kubernetes manifests, this can be used to have several manifests contained within a single file.
In this case: the Deployment, the PVC, and now, the Service.
Since this service object is a ClusterIP, by default, it will only be accessible to other services running in the cluster. It won’t be accessible to a client (like your laptop/desktp) running outside the cluster.
We can use kubectl port-forward to access the service just like we did with Longhorn:
kubectl port-forward service/uptimekuma-service 3001:3001
This will make uptime-kuma available in your browser at http://localhost:3001
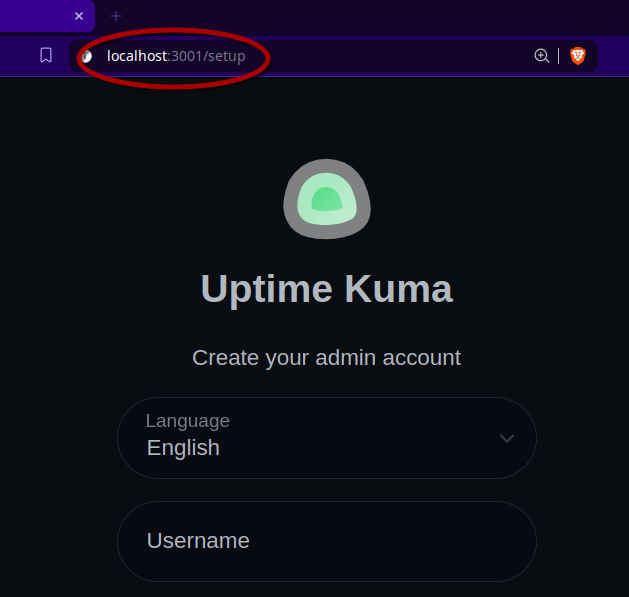
But, as I said in the intro… this isn’t desirable. Luckily, with the Tailscale Kubernetes operator installed, we can change this by editing two lines:
---
apiVersion: v1
kind: Service
metadata:
  name: uptimekuma-service
spec:
  selector:
    app: uptimekuma
  type: LoadBalancer # <-- Changed from ClusterIP
  loadBalancerClass: tailscale # <-- Added Tailscale loadBalancerClass
  ports:
    - protocol: TCP
      port: 3001
      targetPort: 3001
Now, open your Tailscale admin console in another window and, in the search bar, enter tag:k8s. It should return zero results right now.
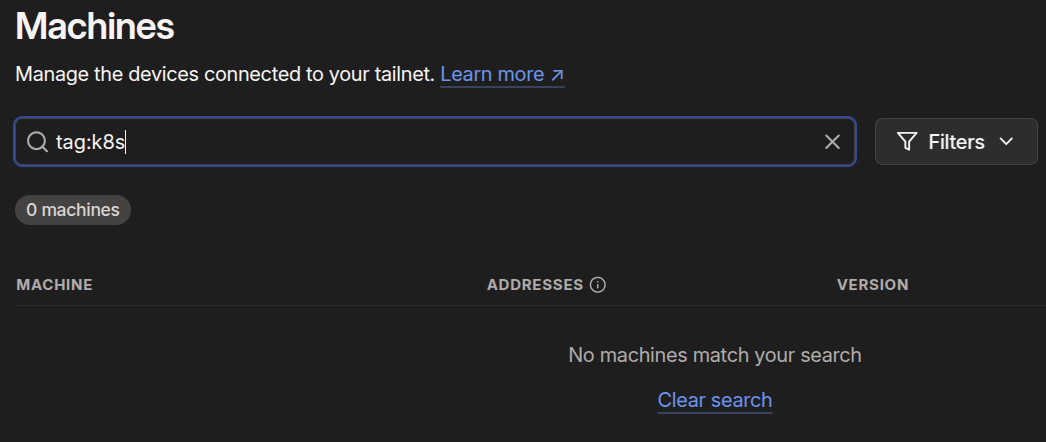
Keep that window open while you re-run:
kubectl apply -f uptime-kuma.yaml
In a few moments, you should see a machine populate in Tailscale called default-uptimekuma-service:
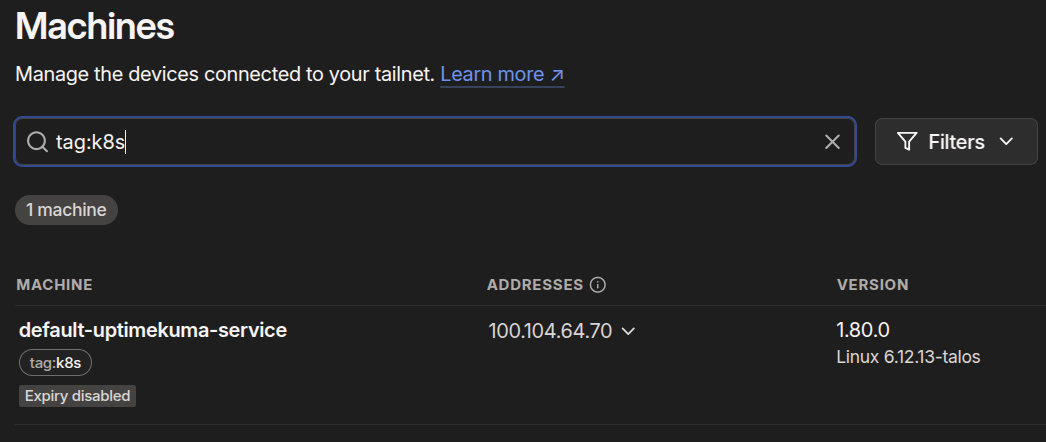
The reason for the off-putting name, is that the operator will name a LoadBalancer service using this format:
namespace-servicename
Since we didn’t create a namespace for Uptime Kuma, it was added to the default namespace (named default).
Now, we can access Uptime Kuma over Tailscale (using Magic DNS) at http://default-uptimekuma-service:3001. You could also use the Tailscale IP shown in the admin console rather than the hostname.
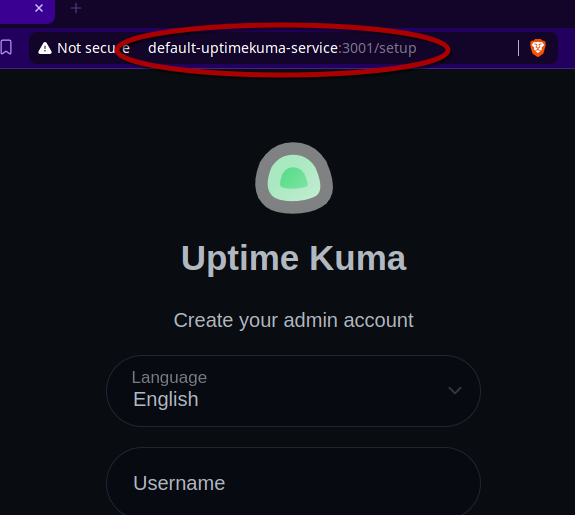
Awesome! Now I have a way to access services running on Kubernetes from outside the cluster. And, it’s through Tailscale, so I can it securely from outside of my LAN as well. But, it could be even better…
You’ll notice this exposes the service over an HTTP port (port 3001). Obviously, for security reasons, I want my services using HTTPS rather than HTTP. Sure, I could accept the risk since I’m already behind a VPN… but I also don’t want to have to remember the unique port that each of my services are running on and append it to the URL every time.
If nothing else, I just want a prettier URL.
Using the Tailscale Ingress Controller
This is where the Tailscale ingress controller comes in. For this to work, you’ll need to make sure that both HTTPS and Magic DNS are enabled on your tailnet:
Once you’ve ensured those two features are enabled, let’s change our service object back to type ClusterIP, and add an ingress object to the end of our manifest like so:
ClusterIP Service
---
apiVersion: v1
kind: Service
metadata:
  name: uptimekuma-service
spec:
  selector:
    app: uptimekuma
  type: ClusterIP # <-- changed back from LoadBalancer and deleted loadBalancerClass from the following line
  ports:
    - protocol: TCP
      port: 3001
      targetPort: 3001
---
apiVersion: networking.k8s.io/v1
kind: Ingress
metadata:
  name: uptimekuma-ingress
spec:
  defaultBackend:
    service:
      name: uptimekuma-service
      port:
        number: 3001
  ingressClassName: tailscale
  tls:
    - hosts:
        - uptimekuma # The hostname you want to access the service by
Now, make sure you still have your Tailscale admin console open with the tag:k8s filter in the search before you run:
kubectl apply -f uptime-kuma.yaml
In a few moments, you’ll notice default-uptimekuma-service disappear in Tailscale, and a new machine called simply uptimekuma will appear.
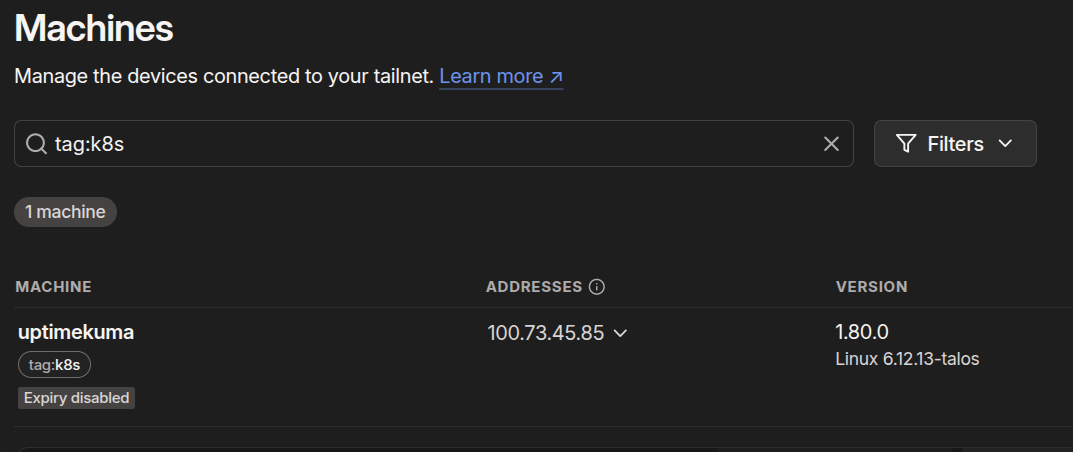
Now, we can access Uptime Kuma from https://uptimekuma.tailnet-name.ts.net.
If you don’t know what your tailnet FQDN is, you can find it by going to the DNS tab under Tailnet name.
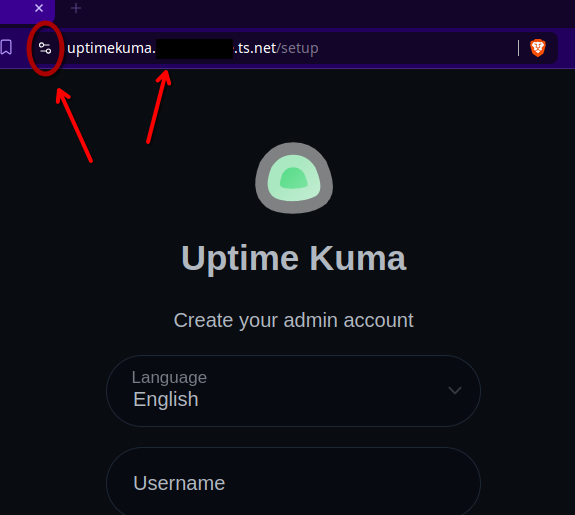
Uptime Kuma is now exposed to our Tailnet over HTTPS with a valid certificate!
Conclusion
Tailscale is a seriously powerful tool for simplifying secure access to your services. I’ve been using their Docker container for more than a year now. Who knew they could even make Kubernetes seem simple?
No, I don’t work for them. No, they’re not a sponsor. It’s just an awesome product. And it’s free. And it’s open source.
I mean come on… Do you really think anyone is sponsoring my niche nerd blog on this dark corner of the internet you just found yourself on?
Anyway, Tailscale for the win. Again.
What do you use as an ingress controller? Hit me up on social media and let’s nerd out.
